Table of Contents
Meetings
General
Webex offers two ways to hold meetings.
- Scheduled meetings
- Ad-hoc meetings
All staff and students are eligible to organise meetings.
- If you have any questions, please contact Henning Bohlken
Note: No registration is required to attend a meeting.
Use
Participants
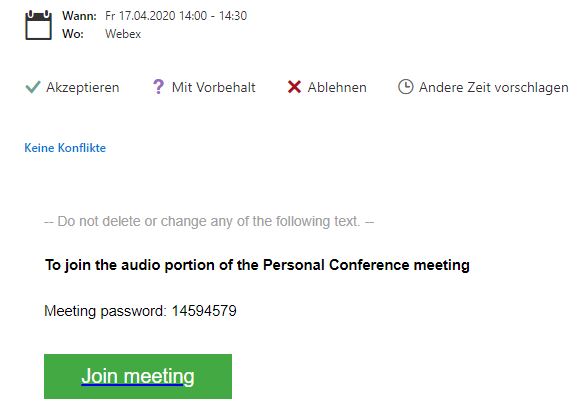
To participate in a meeting you need an invitation. In this invitation you will find a link “Join meeting” which will take you directly to the meeting in question. You can join a meeting 5 minutes before it starts.
Before joining the meeting, you can customise the audio options.
After you have successfully joined the meeting, you can switch on your video or mute the microphone. A detailed overview of all options can be found here.
Organiser
Every university member can schedule a meeting. You have the following options to do this:
- Via the Mebex Meeting App
- Via the Webex App (formerly Webex Teams)
- Via the Login website.
Every user has a personal meeting room in Webex. You can find this out via the Webex Meeting App (this is under the user name) or via the website. The room name looks like this https://jade-hs.webex.com/meet/max.mustermann. This room can be used for ad-hoc meetings. For example, you can send the link via email and make an appointment.
Another possibility is the scheduled meeting. Here you specify the participants and the time. This schedules a meeting and sends it to the participants.
Ad-hoc meeting
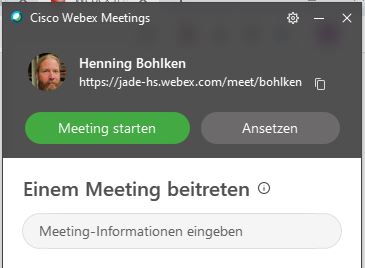
You can start this meeting after logging in –> Home - Start meeting. You will be connected directly to your personal room. You will also find the address of this room in the Home area. The link looks like this: https://jade-hs.webex.com/meet/max.mustermann You can send this link to your meeting partner, who can then also connect to your room via this link.
Scheduled meeting
The more common form is the scheduled meeting. To organise such a meeting the following steps are necessary:
- Home –> Schedule Meeting
- Meeting type –> Webex Meetings Pro Meeting
- Set the topic of the meeting
- Set date and time
- Add participants
The audio connection options, agenda and scheduling options are optional.
When you click on “Schedule”, an invitation is automatically sent to all participants. At the selected time, all participants can then connect to the meeting via this invitation.
A detailed overview of all options can be found here.
Integration in Outlook
The connection with Outlook is done via a plugin. You can download it from https://jade-hs.webex.com in the Downloads section.
Note: Please log in first.\ The name is “Cisco Webex Productivity Tools”.\
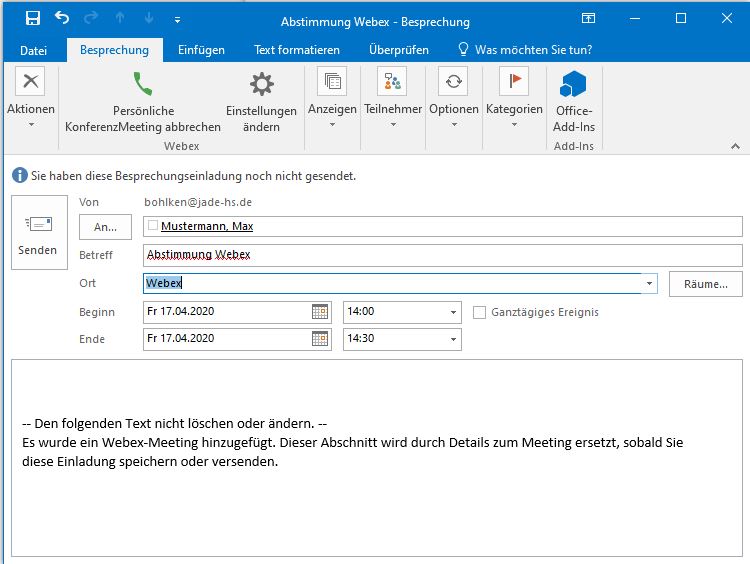
After successful installation, you can schedule a Webex meeting directly from Outlook.
To do this, click on “Schedule a meeting” in the Appointments area.
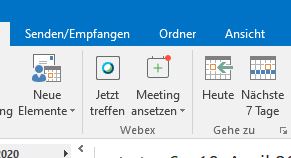
Or you can use the Webex app to organise a meeting. The Outlook appointment calendar will then open automatically.
The invited person receives the link by email to join the meeting.
Support
Login problems with WebEx Meeting App.
Functions
Here you will find an overview of important functions.
Surveys
there are two ways to start a survey in Webex. You can create the survey offline before the meeting using the Webex survey base Download here or during the meeting.
To be able to start polls you must be the moderator of the meeting.
To add a poll, click on the three dots next to the Participants and Chat areas.
 Here you can start the survey.
You then have the option of uploading a previously created survey or creating a survey directly.
You can choose between multiple choice and text questions when creating the survey. The questions and answers can be edited and the order can be changed as well.
Before opening the survey you can create a timer (Options…). The item “Record single answers” gives you the possibility to publish only the result later or to publish the answers of the participants. You can set this after you have finished the survey.\ You can then publish the poll results to the participants.\ Important: Secret polls can NOT be conducted here.
You can then save the results of the survey and the survey itself and use them again if necessary.
Subgroup session (breakout session)
As a host, you have the option of using breakout sessions within your meeting. You can activate these in the meeting window via Subgroup Sessions → Activate Subgroup Sessions. You can set the following parameters:
- Number of sessions
- Automatic allocation
- Manual allocation
- Participants may select any session
You can name these groups as you wish and they will be assigned as previously specified.
In this example, participants can choose whether they want to be in AG-1 or AG-2.
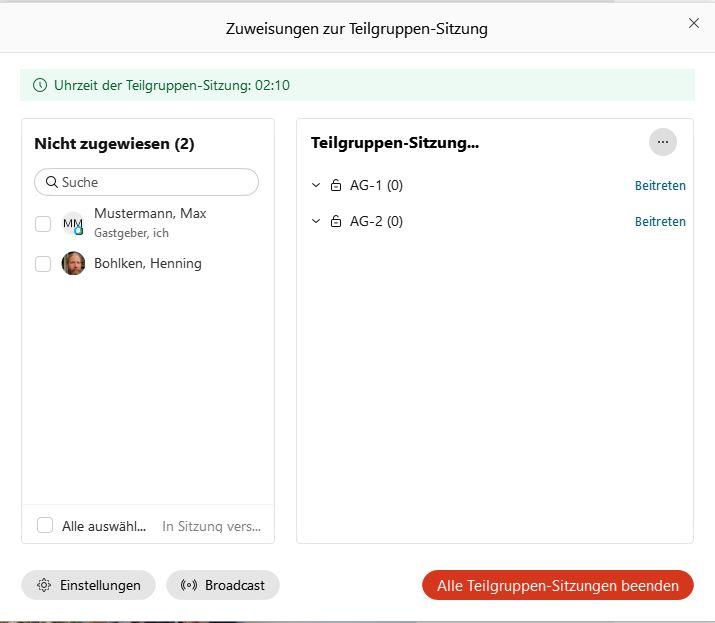 Here is the host view.
If you have selected the option “Participants may choose any session”, as in this example, participants can switch between the individual rooms as they wish. Communication only takes place within the individual rooms.
The host can reach all participants via broadcast.
Ending the subgroup meeting brings all participants back together in the main meeting. If a fixed assignment is to be made, it is advisable to select the option “Manual assignment”.
Music mode
You have the option to activate the music mode in the meeting window under Audio and Video. By activating it, the original sound of your microphone is transmitted and interventions by the software are reduced.
Reduce background noise
In the meeting window under Audio and Video → Loudspeaker and Microphone Settings… you have the option of filtering out background noise by activating the option “Reduce background noise”. This option completely deletes e.g. a hoover or construction noise from the audio stream.


